

As a trusted steel shelf supplier, I've witnessed firsthand the wear and tear that these essential storage solutions can endure over time. A damaged steel shelf not only compromises its functionality but also poses potential safety risks. In this blog post, I'll share a comprehensive guide on how to repair a damaged steel shelf, drawing on my years of experience in the industry.
Step 1: Assess the Damage
The first step in any repair process is to conduct a thorough assessment of the damage. Start by carefully inspecting the entire shelf, looking for signs of dents, bends, cracks, or loose components. Pay close attention to the joints, as these are often the areas most prone to damage. Take note of the severity and location of each issue, as this will help you determine the appropriate repair method.
If the damage is minor, such as a small dent or scratch, it may be possible to repair it yourself using simple tools and materials. However, if the damage is extensive or involves structural integrity, it's best to consult a professional. In some cases, it may be more cost - effective to replace the entire shelf rather than attempting a complex repair.
Step 2: Gather the Necessary Tools and Materials
Once you've assessed the damage, it's time to gather the tools and materials you'll need for the repair. Here are some common items you may require:
- Measuring tape: To accurately measure the dimensions of the damaged area.
- Welding equipment: If the damage involves broken or cracked metal, welding may be necessary. Make sure you have the appropriate welding machine, electrodes, and safety gear.
- Grinder: To smooth out rough edges and prepare the surface for welding or painting.
- Drill and bits: For making holes or attaching new components.
- Screwdriver set: To remove and install screws and bolts.
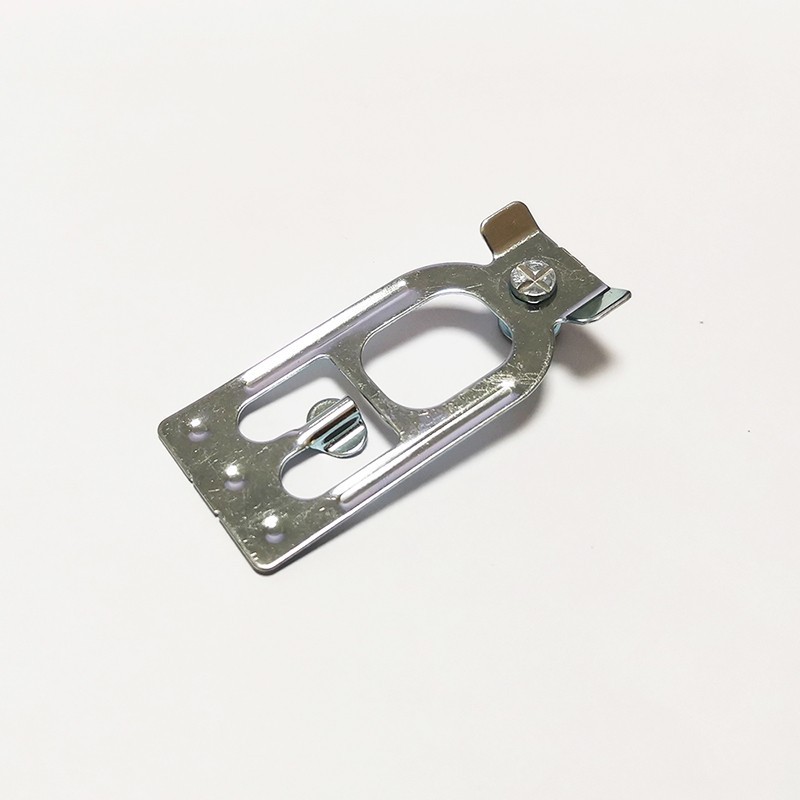
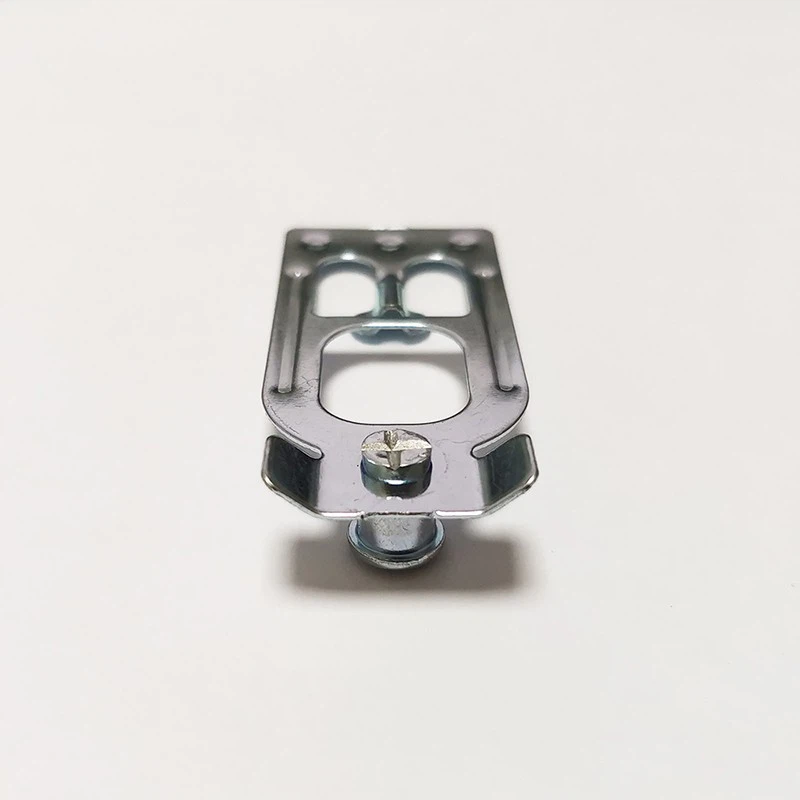
- Replacement parts: Depending on the damage, you may need to replace certain components such as Wire Decking, 2 Inch Hole Step Beam End Safety Clip, or Yellow and Black Combined Plastic Upright Front Protector.
- Paint and primer: To protect the repaired area from rust and corrosion.
Step 3: Repair Minor Damage
For minor dents and scratches, you can often repair the shelf without the need for welding. Here's how:
- Dents: Use a rubber mallet or a block of wood to gently tap the dent back into place. Start from the outer edges of the dent and work your way towards the center. If the dent is deep, you may need to use a suction cup dent puller or a hammer and dolly set.
- Scratches: Sand the scratched area with fine - grit sandpaper to smooth out the surface. Then, apply a primer and paint that matches the color of the shelf. Make sure to follow the manufacturer's instructions for the primer and paint.
Step 4: Repair Structural Damage
If the damage involves broken or cracked metal, welding is usually the best solution. Here's a step - by - step guide on how to weld a damaged steel shelf:
- Prepare the surface: Use a grinder to clean the damaged area and remove any rust, paint, or debris. Make sure the edges of the crack or break are clean and smooth.
- Align the parts: Use clamps or a vise to hold the broken parts in place. Make sure they are properly aligned before welding.
- Weld the parts: Set up your welding machine according to the manufacturer's instructions. Use the appropriate welding technique, such as MIG or TIG welding, to join the broken parts together. Start by making a series of tack welds to hold the parts in place, then make a continuous weld along the joint.
- Grind and finish: After welding, use a grinder to smooth out the weld bead and blend it with the surrounding metal. Then, apply a primer and paint to protect the welded area from rust and corrosion.
Step 5: Replace Damaged Components
In some cases, it may be necessary to replace damaged components such as wire decking, safety clips, or upright protectors. Here's how to do it:
- Remove the old component: Use a screwdriver or a wrench to remove the screws or bolts holding the old component in place. Carefully lift the old component off the shelf.
- Install the new component: Align the new component with the mounting holes on the shelf. Insert the screws or bolts and tighten them securely. Make sure the new component is properly installed and functions correctly.
Step 6: Inspect and Test the Repaired Shelf
Once you've completed the repair, it's important to inspect the shelf to ensure that it is safe and functional. Here's what you should do:
- Visual inspection: Check the repaired area for any signs of damage or improper installation. Make sure all the components are securely attached and there are no loose parts.
- Load testing: Place a light load on the shelf to test its stability. Gradually increase the load and observe the shelf for any signs of sagging or bending. If the shelf shows any signs of instability, make further adjustments or repairs as necessary.
Conclusion
Repairing a damaged steel shelf is a task that requires careful assessment, the right tools and materials, and some basic DIY skills. By following the steps outlined in this blog post, you can save money and extend the lifespan of your steel shelf. However, if you're not confident in your ability to repair the shelf, it's always best to consult a professional.
As a steel shelf supplier, I'm here to assist you with all your storage needs. Whether you need replacement parts, advice on shelf repair, or want to explore new storage solutions, I'm just a message away. Don't hesitate to reach out if you have any questions or if you're interested in purchasing high - quality steel shelves and related components. Let's work together to keep your storage spaces safe and efficient.
References
- "Steel Shelving Installation and Maintenance Guide" by Industrial Storage Solutions Association
- "Welding Basics for Beginners" by American Welding Society
- Manufacturer's manuals for steel shelves and related components


